
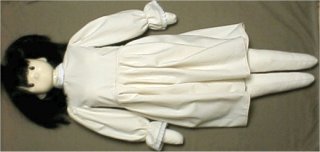
Abstemious little Cindy in the scullery
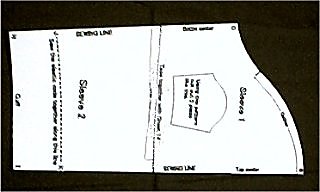
Basic Pattern and Instructions
Back to entrance page
In order to show the detailed way of making, this page is rather large. Some case, it takes time in loading. Please wait for a while.
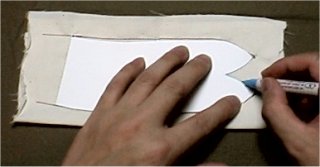
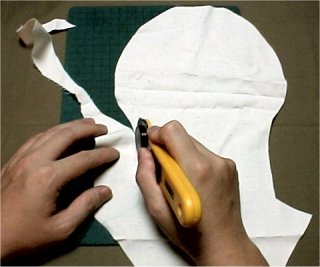
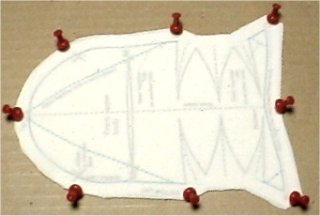
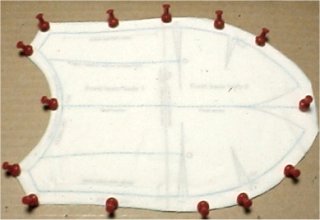
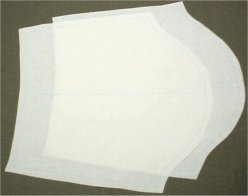
Kent paper is --
- As thick as a postcard
- Can pass a printer
- You can use any paper like above
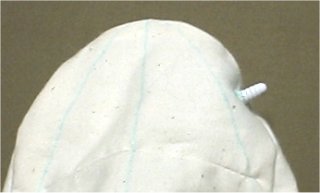
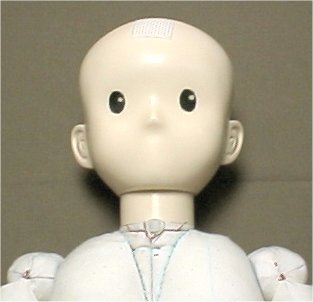
Of course, you can use sewn cloth made head instead of this plastic head.
Click HERE for her cloth made head.
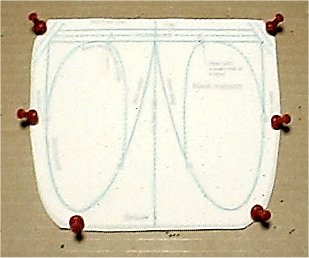
About the license of Cindy's pattern and instruction.To fit the sheet to the page, narrow the spaces around the paper edges in print setting dialogbox of your browser etc. It is recommended that using the ordinary paper at first to check the size of printing.

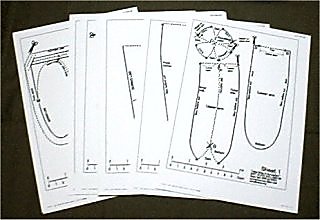
cindy.pdf (about 6.2MB)

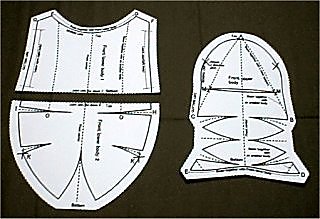
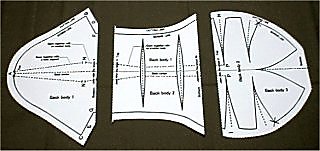


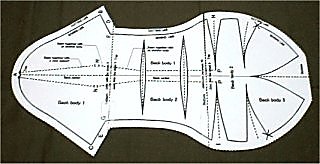


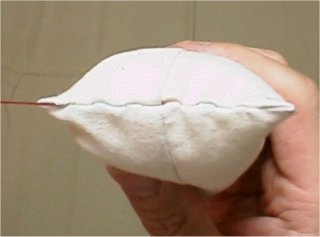
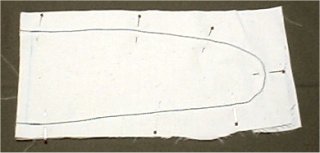

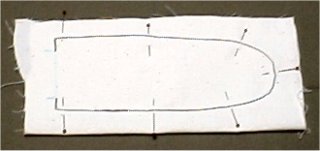

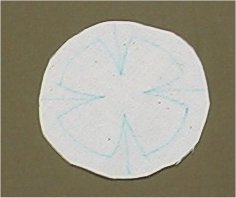


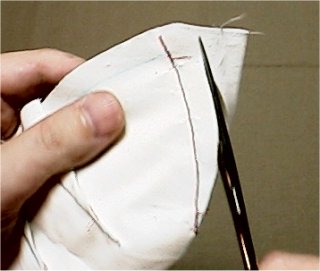


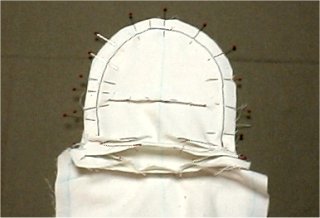
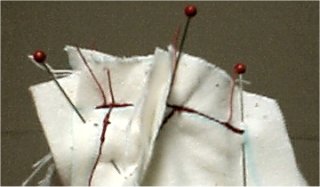
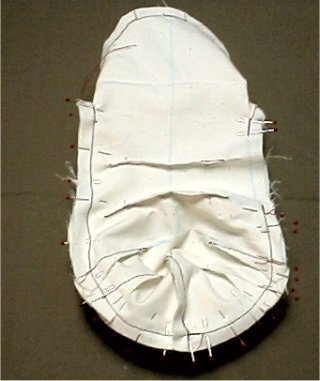
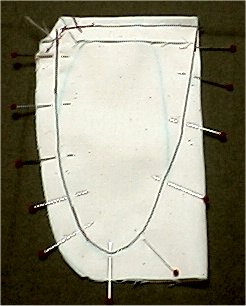
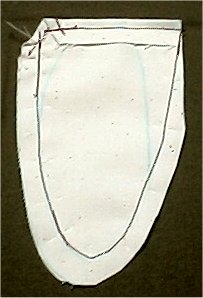
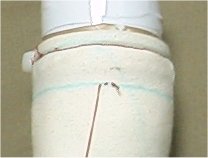
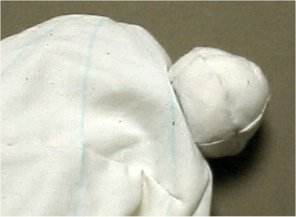
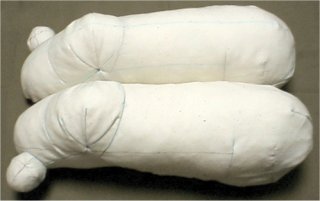
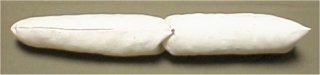
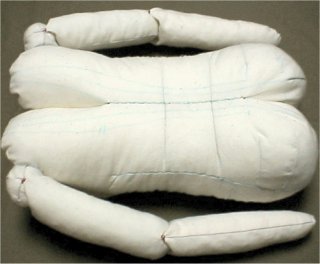
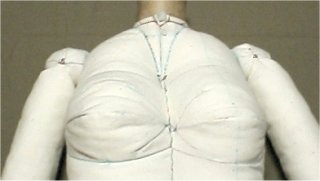
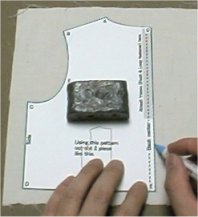
Why such a lot of darts?
She keeps her form not by the shape of filled fiber but to balance the tension of fabric and pressure of filled fiber. So fabric tension needed to keep evenly by the darts.


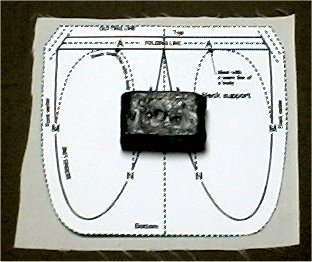


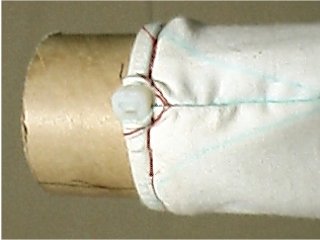

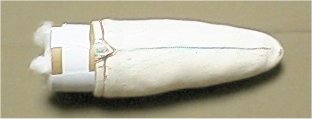
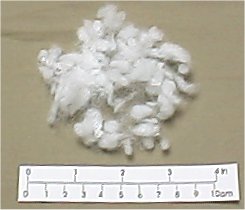
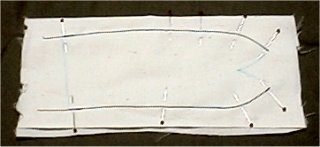
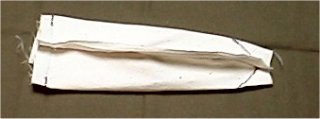
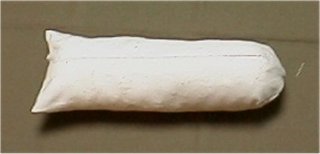
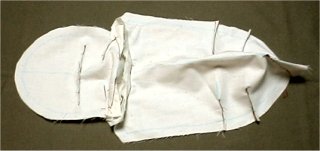
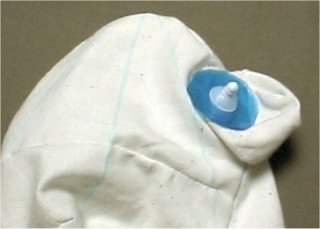
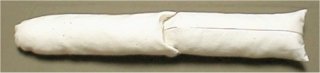
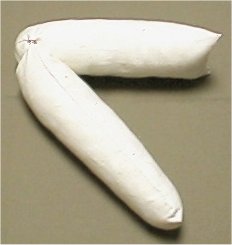
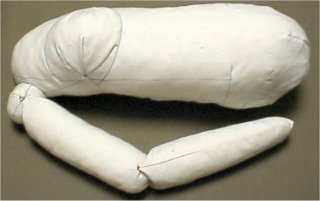
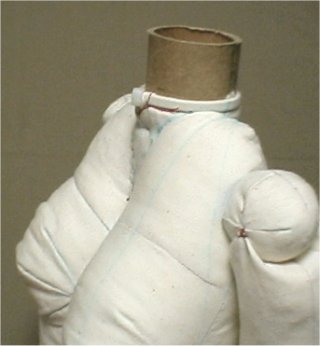
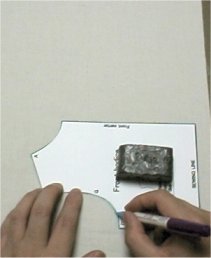
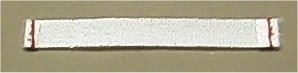
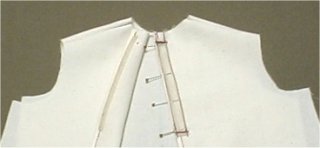
NOTE:You can stuff cheap or leftover fiber only in the neck support. Because It does not affect feeling.Tape the end of neck to close the neck opening.
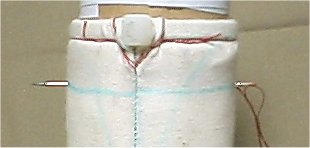
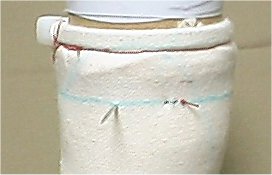


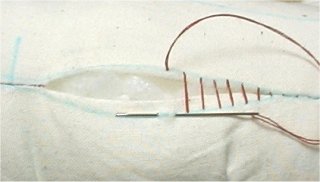
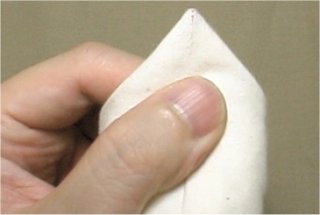

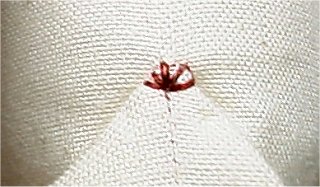


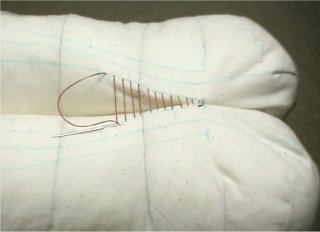


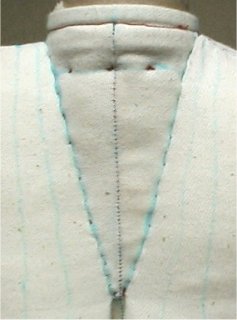
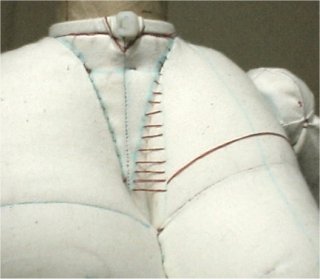


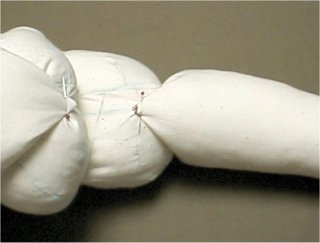

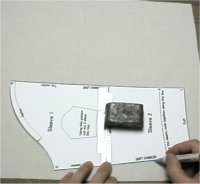


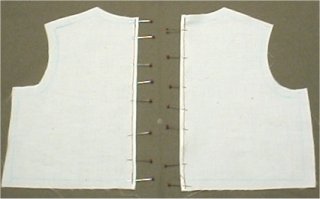
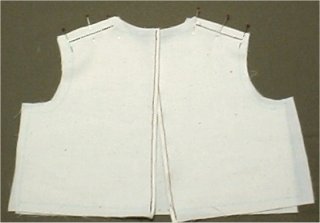

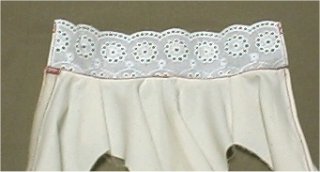

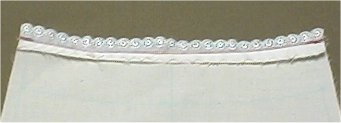
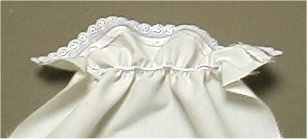
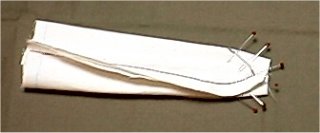
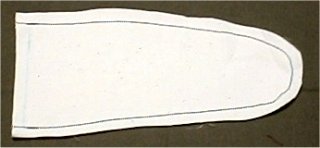
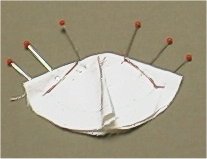
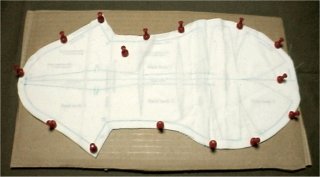
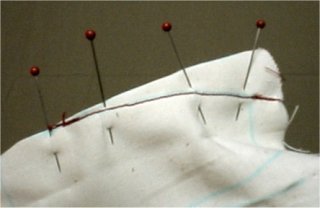
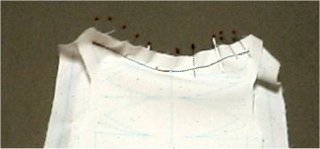
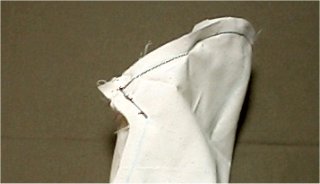
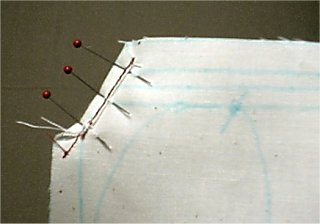
How to gather evenly.
- Pin-A and B both ends.
- Making similar slacks, Pin-C the center of A and B.
- Making similar slacks, Pin-D the center of A and C.
- Making similar slacks, Pin-E the center of C and B.
- Repeat this process until you get pleasing gather.


Stepmother would give her daughters beautiful dresses but none to her stepdaughter who had only to wear the castoff clothes of the other two.Sewing a great dress. Make her attend the royal ball!Now when the night came for the royal ball Cinder Maid had to help the two sisters to dress in their fine dresses and saw them drive off in the carriage with her father and their mother. But she went to her own mother's grave and sat beneath the hazel tree and wept and cried.

About DOKU
The "DOKU" does not mean a doctor. "DOKU" originates in the Japanese word "DOKUTOKU", and it means unique and original.
These pages are originally written in Japanese, and translated into English. Original Japanese pages are here.