Abstemious little Cindy in the scullery
Additional Instructions
Back to entrance page

In order to show the detailed way of making, this page is rather large. Some case, it takes time in loading. Please wait for a while.

Introduction


Cindy with braided long (implanted) hair.
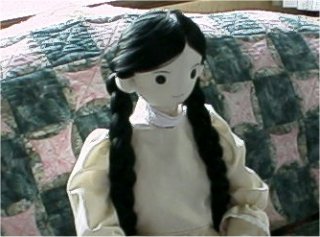
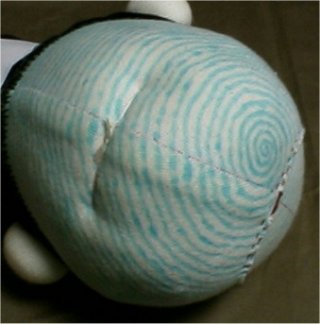
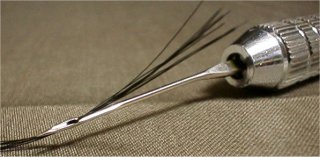
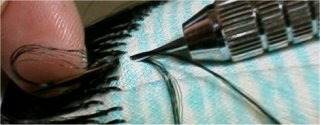
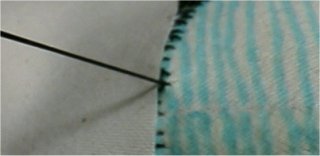
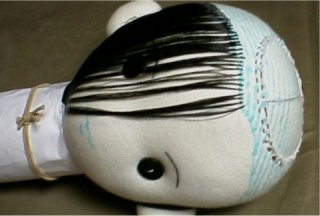
The head which has Implanted hair has a natural hairline and various hairstyles can be enjoyed. But I cannot recommend you to implant hair. You can obtain a better result from implanting than using wig. However, it takes time and effort too much, And It becomes so hard and long work. Therefore, I show the method as reference here.

Materials and tools

Materials

  1. 300 gram of Saran doll hair (your favorite color)

Tools

  1. Water soluble marker
  2. Pin vise
  3. Needle for sewing machine. (for thick fabric.) Choose one having sharp tip.
  4. A small food storage container (ex. tupperware)
  5. A piece of towel

Note

  1. Be careful! Needle which is used to implant hair is so dangerous. Always be so careful not to stab your finger, body and eyes etc. Of course always keep it away from children.
  2. If you print out this instructions, CLICK HERE and display the page without frame before you print.

Implanting hair

Spooling

Doll hair (without spool)
In many cases, the hair for dolls is sold without the spool. However, since one thread is pulled out, for transplanting the hair, it is better to spool, for easy working.
Thread frame
Setting the un-spooled hair to the thread frame. And wind it around a spool.
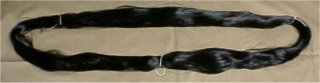
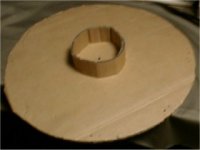
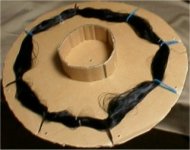
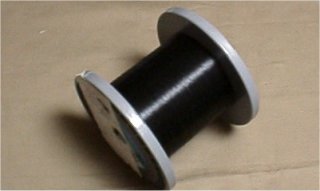
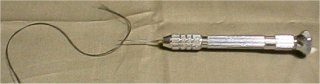
This thread frame consists of two round corrugated paper boards, with eight 1/2" slits around. Fix two boards face to face, with hair fiber. And inserting elastic strings into those slits on each boards, to suspend un-spooled hair. Fit a shaft over the holes, which prepared in the center of boards, to rotate them.

Spooled doll hair

Work bench


Food keeper
Put a food keeper (ex. Tupperware) on the table.
Towel
And put a piece of towel on the keeper, to make work bench. Implant the head on this work bench.

Prepering

Marked head
Mark the fringe of the domain in which the hair is planted.
Decide the position of the whirl of hair. Start to mark a spiral at here. Continue marking to mark all of the planting domain.
pin vise
Set a needle for sewing machine to a pin vise. Always be so careful not to stab your finger, body and eyes etc. Of course always keep it away from children.
Threading the needle
Thread the needle with hair fiber.

Implanting

Start implanting from the outer edge of the spiral. Let hair fiber pass with a needle head fabric crossing the marked line. Pulling out the needle, hold the free side of the fiber (not coming from spool) with your finger, as shown in the picture.
Loop
After pulling out the needle you can find a loop. Cut the fiber between the needle and the loop, near the needle.
Passing in the loop
Pass the fiber into the loop and pull it.
Fastened fiber

Implanting
Repeat and repeat this process (perhaps three days), you can complete implanting.
    If you like, you can place a link to this page. Use button picture below.

    About DOKU

      EMAIL (doku@newon.org)

      The "DOKU" does not mean a doctor. "DOKU" originates in the Japanese word "DOKUTOKU", and it means unique and original.
      These pages are originally written in Japanese, and translated into English. Original Japanese pages are here.