
To show index frame
 |
Soft cloth doll Free pattern and instructions! < Prev. To the top. Next > |
| |
Soft cloth doll Free pattern and instructions! < Prev. To the top. Next > |
| Wisp | Description |
|---|---|
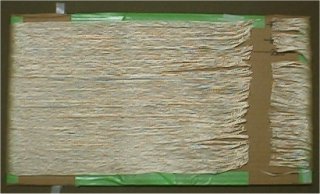
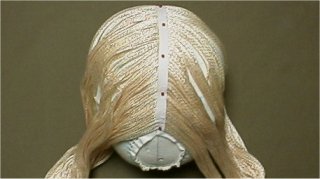
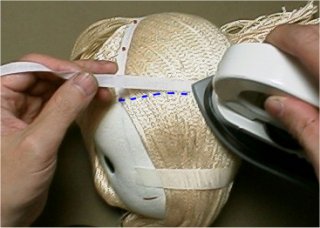
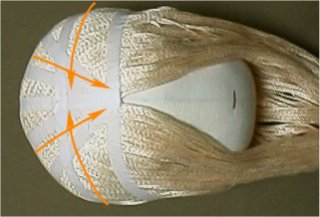
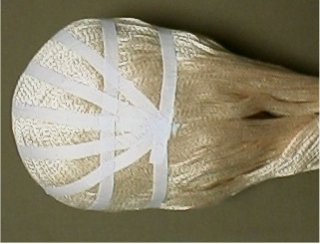
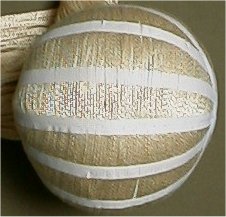
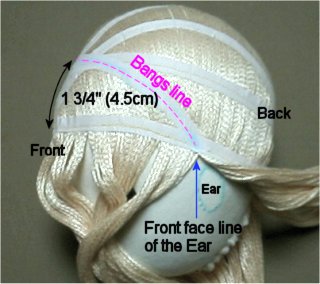
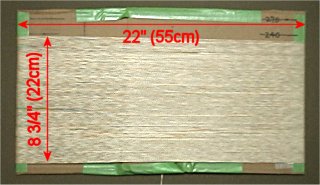
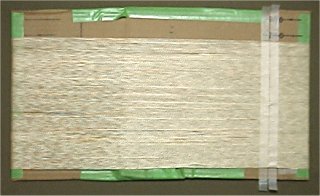
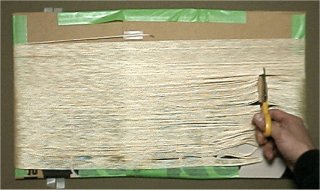
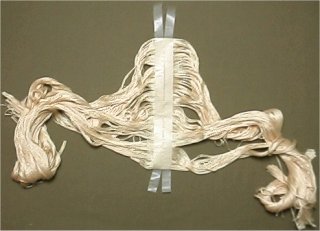
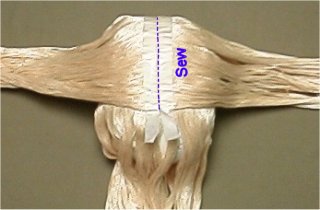
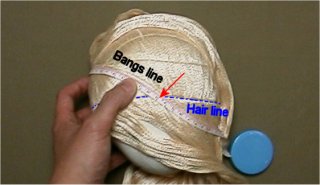
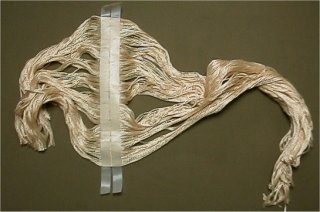
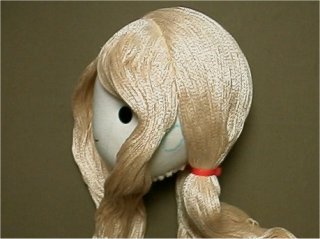
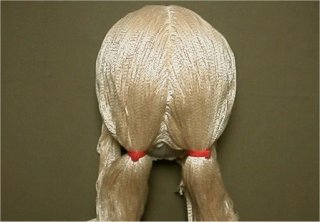
| Whole wisp | Whole wisp is the largest wisp and it is formed like a cap using iron adhesive tape to fit the head. this cap-like wisp becomes a base for this wig. |
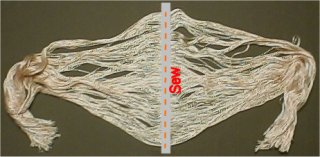
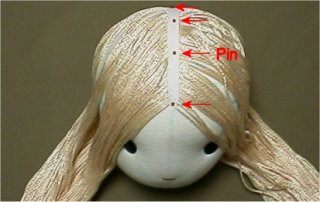
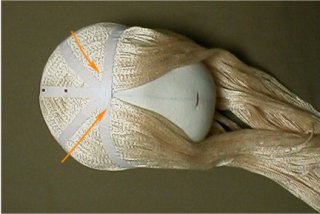
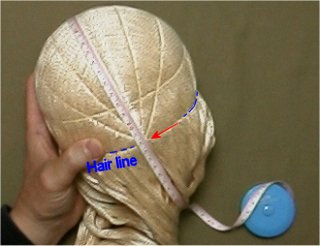
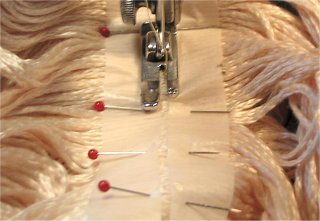
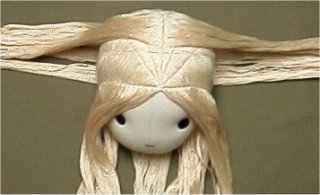
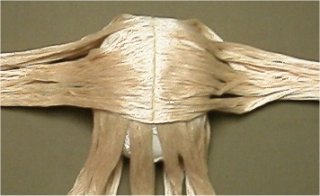
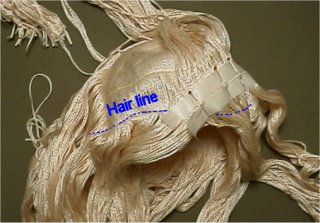
| Back wisp | Back wisp is attached top of wig to the back of whole wisp on the center of the head to be the side and the back hair. |
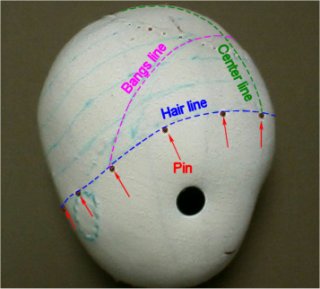
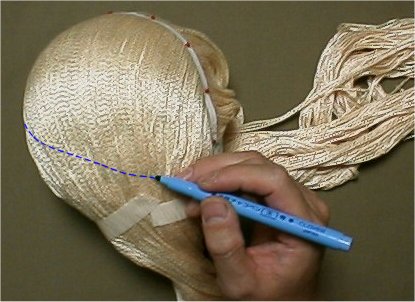
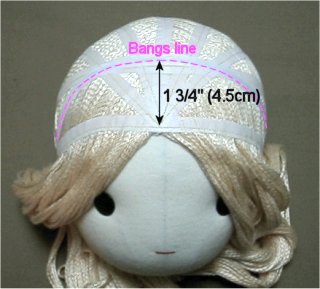
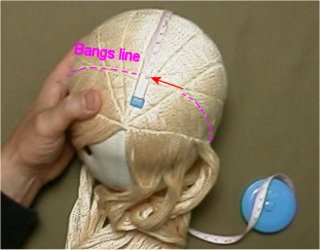
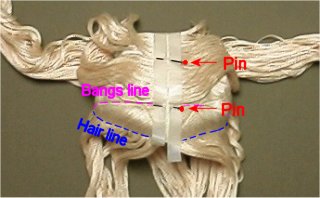
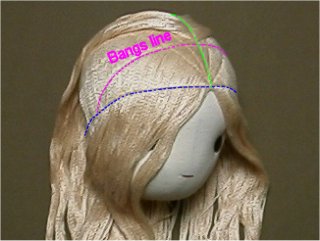
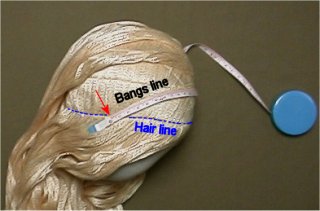
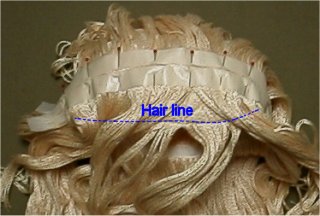
| Bangs wisp | Bangs wisp is attached along the bangs line (the line started from front face of a ear and path the upper forehead portion and goto the front face of another ear) to the whole wisp to be side hair and bangs. |


About DOKU
The "DOKU" does not mean a doctor. "DOKU" originates in the Japanese word "DOKUTOKU", and it means unique and original.
These pages are originally written in Japanese, and translated into English. Original Japanese pages are here.